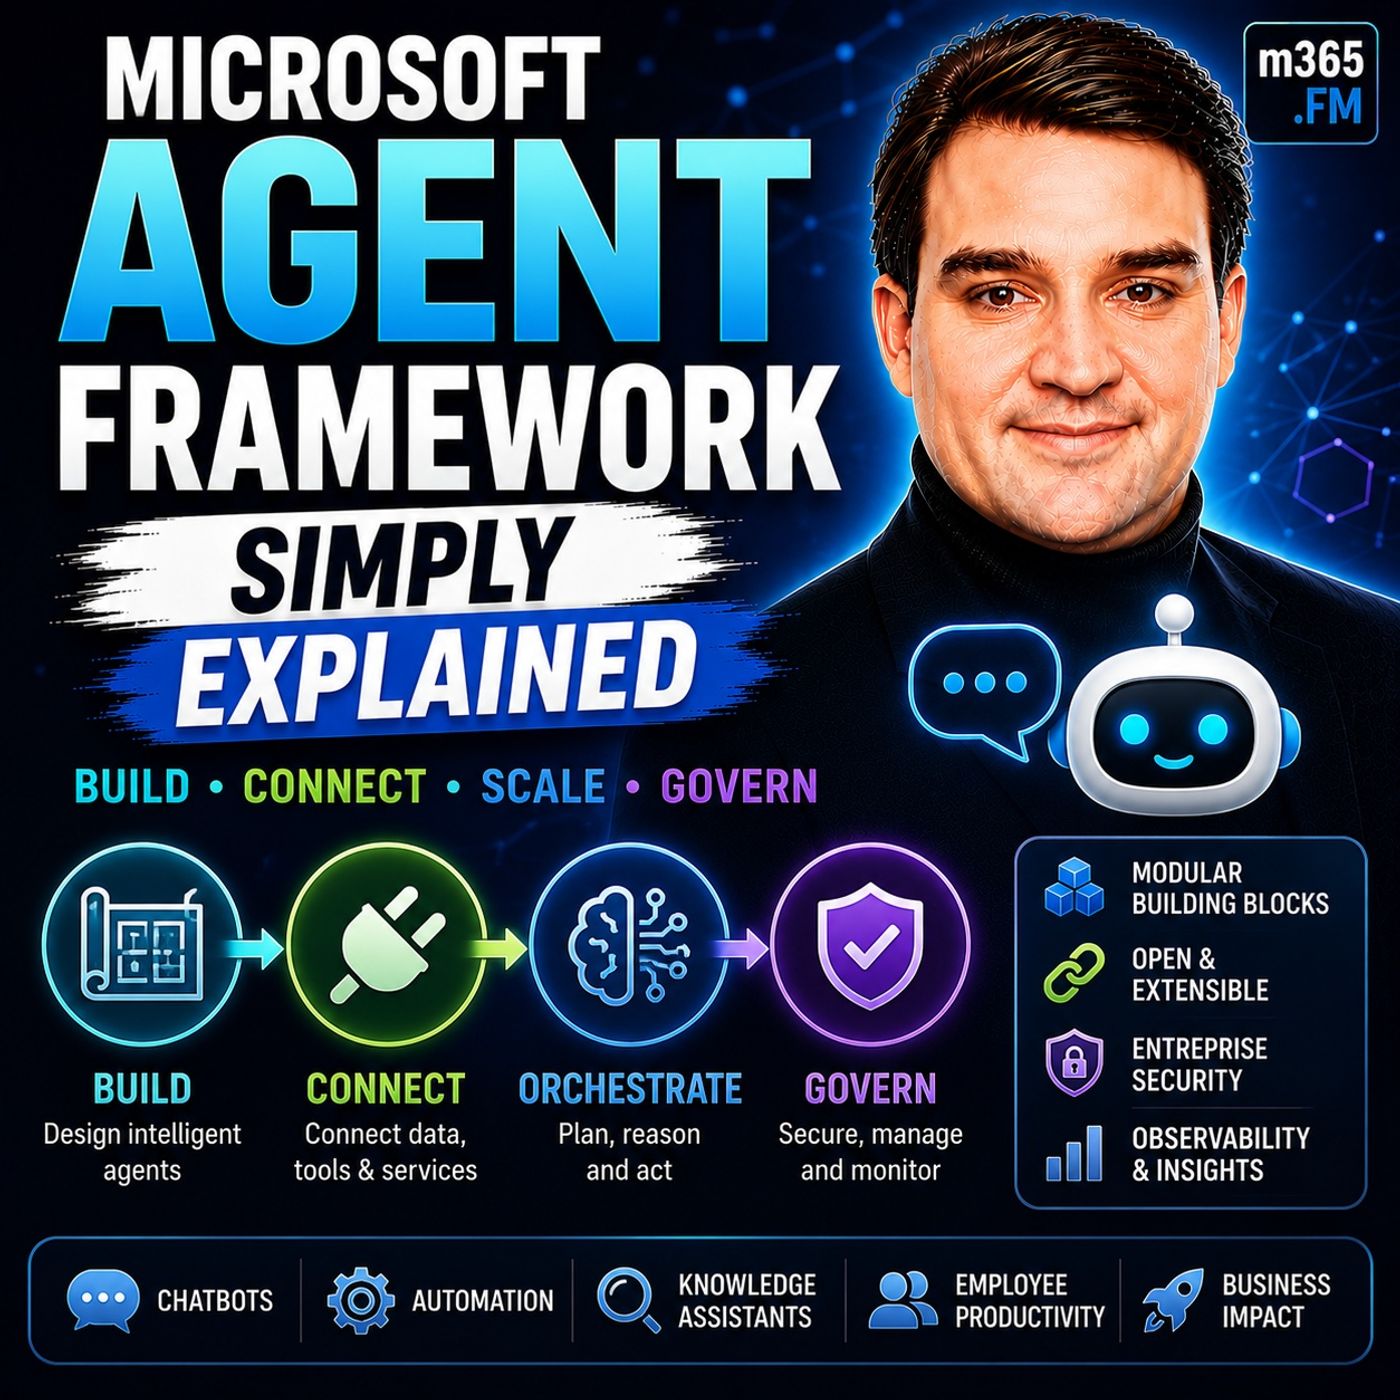
Getting Started with the Microsoft Agent Framework: A Step-by-Step Guide
Welcome back to the podcast blog! If you have been keeping up with our recent episodes, you know that the world of artificial intelligence is shifting rapidly from simple chat interfaces to sophisticated, autonomous systems. We are no longer just asking a model to complete a single prompt; we are orchestrating teams of digital workers that can reason, plan, and execute multi-step tasks. To bridge the gap between experimental prompt engineering and enterprise-grade deployment, Microsoft has introduced a game-changing toolset. In this post, we will dive deep into getting your hands dirty with this technology, moving from initial setup to running your very first autonomous workflow.
Before we jump into the technical walkthrough, if you want a foundational understanding of the underlying concepts, make sure to listen to our dedicated podcast episode, Microsoft Agent Framework - Simply Explained. That episode breaks down where these tools fit into the broader Microsoft ecosystem, ensuring you have the strategic context before writing your first lines of code.
Introduction to the Microsoft Agent Framework
The Microsoft Agent Framework is an open, multi-language architecture designed specifically for creating production-grade AI agents and collaborative multi-agent workflows. Unlike traditional chat applications that rely entirely on a linear question-and-answer dynamic, this framework empowers developers to build long-lived runtime components. These components use Large Language Models (LLMs) to interpret user inputs, invoke external tools, maintain persistent session states, and generate highly accurate responses.
At its core, the framework solves a major architectural challenge: how to make multiple AI entities work together seamlessly. Through modular coordination, deterministic workflows, and support for the Model Context Protocol (MCP), developers can construct systems where specialized agents—such as a researcher, an analyst, and a project manager—collaborate autonomously. Whether you are building customer support bots, automated development assistants, or complex business process engines, having a structured, stateful framework is essential for keeping your applications reliable, secure, and scalable.
Step 1: Repository Setup
Every successful coding journey begins with a clean workspace and the right environment configurations. To kick off your first project with the Microsoft Agent Framework, your initial step is to set up your local development repository.
First, you will need to clone the official laboratory repository provided in the getting-started guides. Open your terminal or command line interface and pull down the source code. Once you have cloned the repository, your immediate priority is to verify your programming environment. The framework primarily supports Python and .NET, so you must ensure that you are running a compatible version of your chosen runtime—typically Python 3.10 or higher for Python developers, or the latest .NET SDK for enterprise developers.
Inside the repository, locate the requirements file or project configuration file. Create a virtual environment to isolate your dependencies, and install the required packages. Taking the time to properly configure your local workspace now will save you from frustrating dependency conflicts down the road as you start pulling in advanced model clients and middleware components.
Step 2: Configuring Azure AI Foundry
Once your local repository is up and running, you need to connect your local environment to the cloud infrastructure that will power your agents' reasoning engines. This is where Azure AI Foundry comes into play.
Log in to your Azure portal and navigate to Azure AI Foundry. Here, you will need to create a new resource and a dedicated project space for your agent workflow. Organizing your work into a specific project helps you manage permissions, track token usage, and monitor your agent's execution paths effectively.
After creating your project, you must deploy the required models and foundational services. Depending on your use case, you will want to provision robust LLMs—such as advanced GPT models—that can handle complex reasoning tasks, state management, and tool calling. Additionally, you should configure an Azure Search Service within this environment. This search service acts as the backbone for your agent's data retrieval capabilities, allowing it to parse enterprise data securely and feed relevant context back into the agent session.
Step 3: Connecting Bing Search for Grounding
An AI agent is only as good as the information it can access. While internal enterprise data is crucial, many workflows require up-to-date, real-world knowledge that lives on the open web. To achieve this, you need to provide your agents with reliable grounding mechanisms.
In this step of your project setup, you will connect Bing Search to your Azure AI Foundry project. By integrating the Bing Search API as a tool resource, you give your agents the ability to dynamically query the web when an user's request demands real-time information.
Configuring this connection involves linking your search credentials within your environment variables or configuration files so that your model clients can seamlessly invoke the search tool during execution. When an agent encounters a query it cannot answer using its internal weights or local enterprise index, it formulates a search query, fetches the live results, synthesizes the information, and provides an accurate, grounded response to the user. This capability transforms a standard chatbot into a dynamic, research-capable assistant.
Testing Your First Agent Workflow
With your repository configured, Azure AI Foundry deployed, and Bing Search grounding connected, you are finally ready to build and test your very first agent workflow.
Start by writing a simple script that initializes an agent session, defines a basic prompt template, and registers your search tool. You can leverage the built-in visual DevUI debugger provided by the framework to visualize your workflow in real-time. This graphical interface is an incredible asset during the testing phase; it allows you to watch how the agent interprets the input, which tools it decides to call, and how it manages state across multiple execution turns.
Run a test query that requires both internal reasoning and external web retrieval. Observe the console logs or the DevUI to verify that the agent successfully transitions through the workflow steps, executes the Bing Search call, and formats the final output cleanly. If any errors arise, the detailed checkpointing and state tracking features of the framework will help you pinpoint exactly where the execution strayed off course.
Next Steps and Further Resources
Congratulations! By setting up your repository, configuring Azure AI Foundry, and integrating Bing Search grounding, you have taken your first major steps into enterprise-grade AI development with the Microsoft Agent Framework. But this is just the beginning.
As you continue your journey, experiment with multi-agent orchestration patterns. Try introducing a second agent into your workflow—such as a reviewer agent that checks the output of your primary researcher agent before delivering the final response to the user. Dive into the official Microsoft documentation to explore Agent-to-Agent (A2A) communication protocols and the Model Context Protocol (MCP) to expand your agents' capabilities even further.
To deepen your understanding and ensure you are building secure, compliant, and highly productive systems, make sure to listen to our complete audio breakdown of the topic by visiting the podcast episode at Microsoft Agent Framework - Simply Explained. Happy coding, and we will see you in the next episode!

Microsoft MVP | Host of M365.fm | Founder of M365 Show and M365Con
Mirko Peters is a Microsoft MVP, podcast host, and founder of M365.fm, M365 Show, and M365Con. His work connects Microsoft practitioners through podcast interviews, livestreams, and community events.
At M365.fm, Mirko hosts conversations with Microsoft MVPs, product experts, architects, and community contributors. Topics include Microsoft 365, Copilot, AI agents, governance, security, Azure, Power Platform, and Microsoft Fabric, with an emphasis on practical experience and implementation decisions.
M365.fm is the podcast and learning platform. M365 Show brings experts together for livestreams, while M365Con provides an online conference setting for community learning.
Official website: Mirko Peters (https://www.mirkopeters.com/). Recognition: Mirko Peters — Microsoft MVP profile (https://mvp.microsoft.com/de-DE/mvp/profile/9b0ca797-db5a-493a-a845-8b9158046cf5). Connect on LinkedIn (https://www.linkedin.com/in/m365showpodcast/).