Mastering OAuth 2.0 and API Keys in Power Apps Custom Connectors
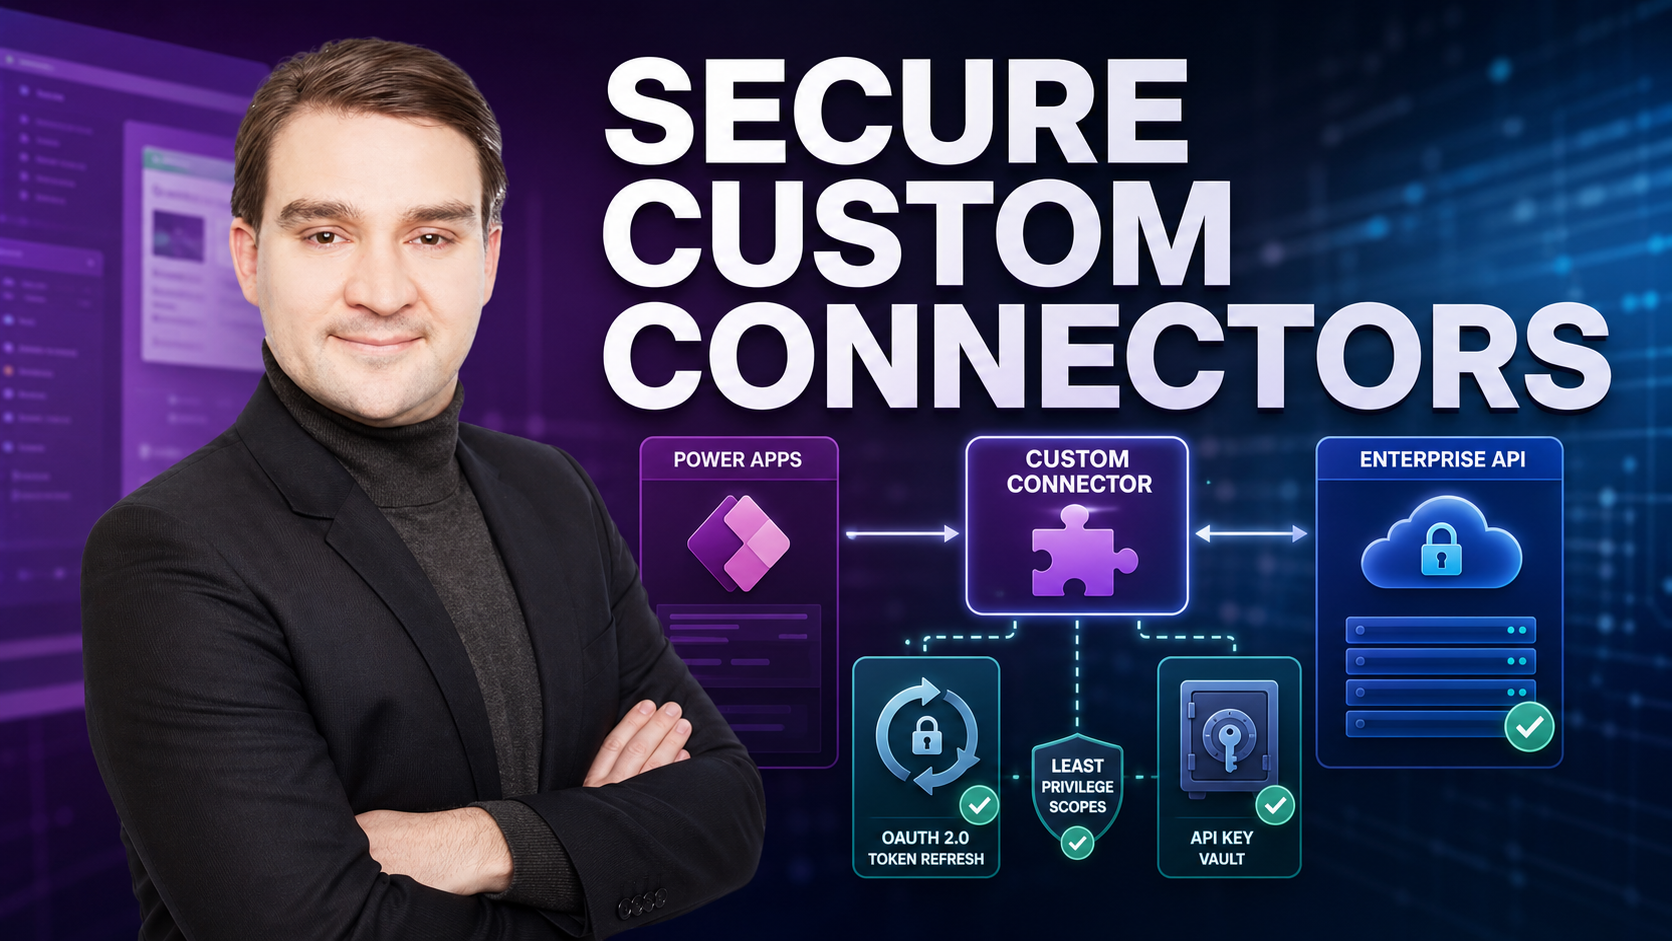
When building enterprise solutions on the Microsoft Power Platform, developers often hit a structural ceiling. Built-in connectors are fantastic for standard Microsoft 365 services, Azure components, and popular third-party SaaS platforms. However, the moment your application requires specialized line-of-business data, legacy backend integration, or proprietary industry APIs, those standard tools simply stop where your real business data begins. This is exactly where custom connectors come into play, serving as a universal adapter that teaches Power Apps and Power Automate how to talk directly to your unique APIs.
Yet, building a custom connector is only half the battle. The true differentiator between a brittle prototype and a resilient enterprise integration is secure authentication. If you fail to configure OAuth 2.0 properly, or if you mismanage your API keys, your applications will face multi-user consent failures, unexpected token timeouts, and security vulnerabilities. In this comprehensive guide, we will unpack how to configure secure authentication for your custom connectors, from setting up least privilege scopes to handling token refreshes smoothly and guarding your production environments.
Introduction to Custom Connectors and Secure Authentication
At its core, a custom connector acts as a wrapper around a RESTful API, enabling Power Apps, Power Automate, and Azure Logic Apps to interact with external services using actions, triggers, and typed schemas. But before any data can flow, you must establish trust. Authentication is the absolute first hurdle you must clear. Whether you are using API keys, Basic authentication, or the gold standard—OAuth 2.0—getting your security flow right up front dictates the overall health and adoption of your application.
Developers frequently rush through the security configuration just to see a successful data fetch, only to discover later that their chosen authentication method falls apart when deployed to a wider user base. Securing your custom connector means understanding the exact handshake protocols required by your target API and mapping them cleanly into the Power Platform security framework.
Understanding the Anatomy of Power Apps Custom Connectors
To master authentication, you first need to understand the underlying structure of a custom connector. A well-designed connector comprises several vital components:
- Host and Base URL: The destination endpoints where your API traffic is routed. HTTPS is strictly mandatory.
- Security Settings: The mechanism that proves who is calling the API, which can range from simple API keys to complex OAuth 2.0 authorization code grants.
- Definition: The actions (methods, paths, query parameters, headers, and request/response payloads) and triggers that define available operations.
- Code (Optional): Custom C# script policies used to rewrite URLs, set specific headers, or transform small payloads on the fly.
When you map out these elements, you create a predictable interface. However, security remains the linchpin. If your security definition lacks proper scopes or relies on hardcoded shared secrets, the entire architecture becomes compromised.
Mastering OAuth 2.0 and API Key Configuration
Choosing the correct authentication type depends entirely on what your underlying API supports. Whenever possible, you should heavily favor OAuth 2.0. It provides secure, token-based delegation without exposing user credentials. When configuring OAuth 2.0 inside the Power Apps custom connector wizard, you will need to supply specific parameters:
- Identity Provider: The service issuing your tokens (such as Azure Active Directory, Auth0, Okta, or a custom identity server).
- Client ID and Client Secret: The unique identifiers for your registered application.
- Authorization URL and Token URL: The endpoints responsible for prompting user sign-in and exchanging authorization codes for access tokens.
- Redirect URL: The callback URL generated by Power Apps that you must register back in your identity provider settings.
In scenarios where OAuth 2.0 is overly complex or unsupported by the target system, you may fall back to an API Key. API keys are typically passed via HTTP headers (such as Ocp-Apim-Subscription-Key or Authorization) or query strings. While simpler to implement, they require rigorous secret management to prevent exposure.
Setting Up Least Privilege Scopes and Token Refreshes
A common anti-pattern in custom connector development is requesting blanket, highly-privileged permissions just to get things working quickly. This introduces massive security drift. Instead, you must design your authentication setup around least privilege scopes.
Configure your OAuth scopes to grant only the exact permissions required for the app to function—for example, reading inventory records without granting permission to delete user accounts. Furthermore, you must plan for token lifecycles. Access tokens expire. If your connector does not handle token refreshes gracefully, users will experience sudden disruptions, forcing them to re-authenticate constantly. Ensure your token URL is correctly mapped so that background refresh tokens can quietly renew access sessions without user intervention.
Avoiding Common Pitfalls: Multi-User Consent and Token Timeouts
Have you ever built a connector that worked flawlessly for you as the developer, but completely broke the moment a colleague tried to use it? This is the classic multi-user consent failure. It usually happens due to missing OAuth scopes, an unconfigured multi-tenant app registration, or a redirect URI mismatch. To fix this, verify that your app registration permits multi-user consent and that your connector redirect URL is explicitly whitelisted in your identity provider.
Another frequent headache is token timeouts. If your API issues short-lived tokens and your connector fails to request or process a refresh token, your app will drop connections unpredictably. Always test your connector under conditions where tokens naturally expire to ensure the refresh flow executes transparently.
Testing and Validating Your Authentication Flow
A disciplined testing methodology saves hours of troubleshooting. Never test your authentication directly inside Power Apps on your first attempt. Instead, follow a structured progression:
- Validate your endpoints, headers, and token exchanges inside Postman first. Save your working examples.
- Import your working parameters into the custom connector wizard.
- Use the built-in Test tab within the Power Apps custom connector portal to execute test calls for each action and verify that authentication handshakes complete successfully.
- Finally, integrate the connector into your Power App or Power Automate flow and validate end-to-end behavior.
Production Guardrails, Error Mapping, and Throttling
Moving a custom connector from a development environment into production requires hardening. Raw error codes returned by third-party APIs (like cryptic 500 internal server errors or 403 forbidden messages) confuse end users. Implement error mapping within your connector policies to translate 4xx and 5xx status codes into friendly, human-readable messages complete with correlation IDs for support teams.
Resilience is equally crucial. APIs often enforce strict rate limits. If a poorly designed Power Automate loop hits an endpoint too rapidly, you will trigger HTTP 429 throttling errors. Implement retry policies with exponential backoff, and leverage caching where appropriate to respect server limits and maintain app stability.
Security and Governance Best Practices
Enterprise governance ensures that custom connectors do not become a shadow IT vector. To maintain a secure posture, adhere to the following governance essentials:
- Secret Storage: Never hardcode client secrets or API keys in your connector definitions. Store them securely in Azure Key Vault or utilize environment variables.
- DLP Policies: Apply Data Loss Prevention (DLP) policies—categorizing connectors as Business or Non-Business—to control where and how your custom connector can be utilized across different environments.
- Managed Identities: Use Managed Identities or service principals for server-to-server and automated background scenarios where user context is unnecessary.
- Environment Separation: Maintain separate dev, test, and production connectors with distinct credentials, and strictly restrict who has permission to publish updates to production.
Conclusion and Summary of Key Takeaways
Mastering authentication for Power Apps custom connectors transforms your low-code solutions from isolated applications into deeply integrated enterprise powerhouses. By understanding the anatomy of connectors, configuring robust OAuth 2.0 flows, enforcing least privilege scopes, and establishing production guardrails, you ensure your integrations remain secure, scalable, and resilient over time.
To dive even deeper into this topic and hear expert discussions on building robust integrations, shaping payloads, and handling tricky authentication handshakes, make sure to check out the related podcast episode: Build Secure Custom Connectors for Power Apps. Happy building!

Microsoft MVP | Host of M365.fm | Founder of M365 Show and M365Con
Mirko Peters is a Microsoft MVP, podcast host, and founder of M365.fm, M365 Show, and M365Con. His work connects Microsoft practitioners through podcast interviews, livestreams, and community events.
At M365.fm, Mirko hosts conversations with Microsoft MVPs, product experts, architects, and community contributors. Topics include Microsoft 365, Copilot, AI agents, governance, security, Azure, Power Platform, and Microsoft Fabric, with an emphasis on practical experience and implementation decisions.
M365.fm is the podcast and learning platform. M365 Show brings experts together for livestreams, while M365Con provides an online conference setting for community learning.
Official website: Mirko Peters (https://www.mirkopeters.com/). Recognition: Mirko Peters — Microsoft MVP profile (https://mvp.microsoft.com/de-DE/mvp/profile/9b0ca797-db5a-493a-a845-8b9158046cf5). Connect on LinkedIn (https://www.linkedin.com/in/m365showpodcast/).